What happens after you request a roof estimate?
After you request a roof estimate, the process typically includes:
- Scheduling an inspection
- On-site roof evaluation
- Repair vs replacement recommendation
- Receiving a detailed estimate
- Reviewing your options
- Scheduling the work
- Project completion
Each step is designed to give you clarity on your roof’s condition, your options, and the total cost.
How quickly will a contractor respond?
Most roofing companies respond within 24–48 hours to schedule your inspection. If you’re dealing with an urgent issue like an active leak, many contractors will try to prioritize your request.
Response time can vary based on:
- time of year (busy vs slow season)
- weather conditions
- current project backlog
If you don’t hear back within a couple of days, it’s reasonable to follow up.
Step 1: Scheduling your roof inspection
Once you make contact, the first step is setting an appointment for an inspection.
During scheduling:
- You’ll choose a time that works for you
- You may be asked about visible issues (leaks, damage, age of roof)
- The contractor may explain what to expect during the visit
In many cases, you do not need to be home, but it’s helpful if you are available to discuss findings afterward.
What happens during a roof inspection?
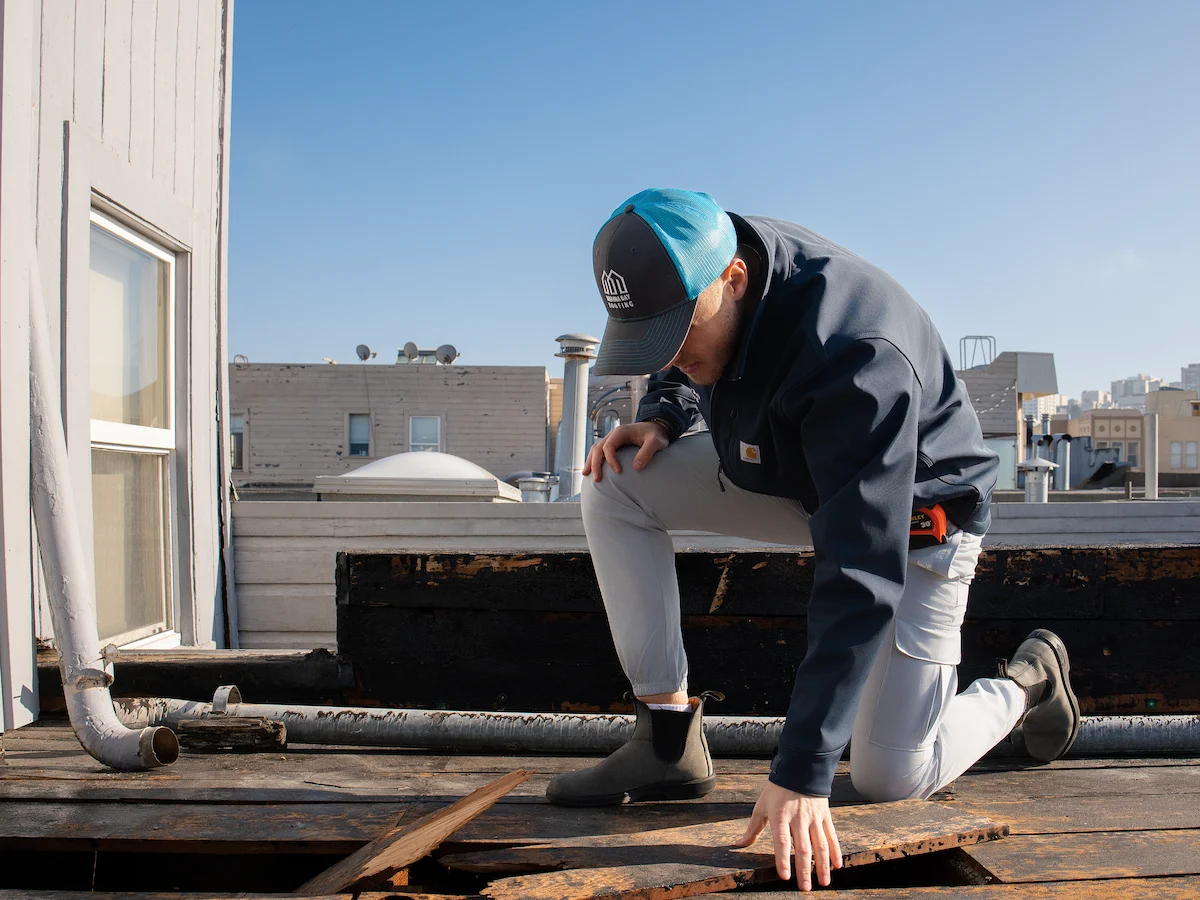
A roof inspection includes:
- Checking for leaks and visible damage
- Inspecting shingles, tiles, or roofing materials
- Evaluating flashing, vents, and weak points
- Looking for signs of water or structural damage
Many contractors provide photos so you can clearly see problem areas.
What they’re really looking for
Beyond surface issues, the goal of the inspection is to determine:
- how much life your roof has left
- whether damage is isolated or widespread
- whether repairs will actually solve the problem
This step is critical because it directly impacts the recommendation you receive.
Step 2: Identifying repair vs replacement
One of the most important outcomes of the inspection is determining whether you need a repair or a full replacement.
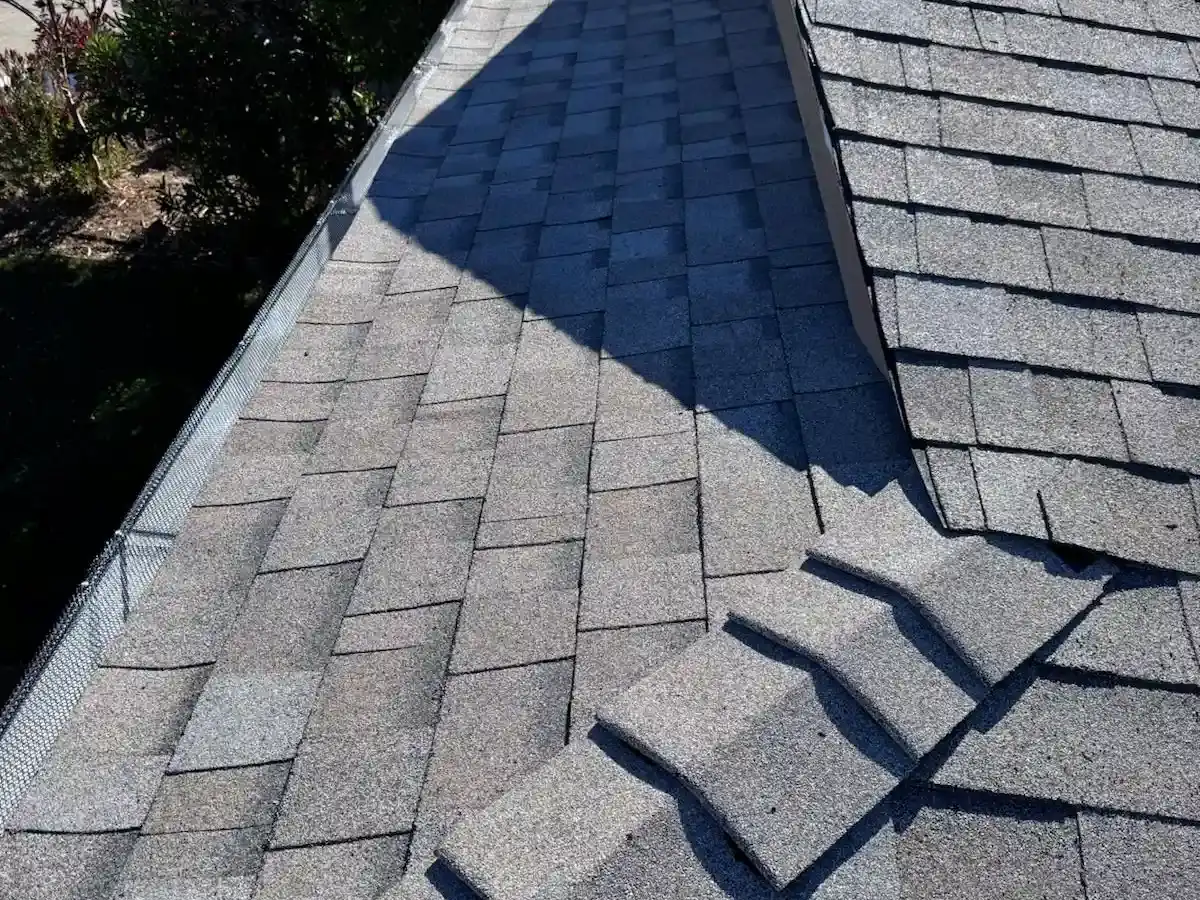
How do they decide between repair or replacement?
Contractors recommend:
- Repair for isolated damage on a newer roof
- Replacement for older roofs or widespread issues
You may only need a repair if:
- the problem is limited to one area
- your roof is relatively new
- there is no structural damage
You likely need a replacement if:
- there are multiple leaks
- materials are deteriorating across the roof
- the roof is near the end of its lifespan
A good contractor will explain the reasoning clearly—not just give you a recommendation.
What does a roofing estimate include?
A roofing estimate typically includes:
- Scope of work
- Materials to be used
- Project timeline
- Total cost
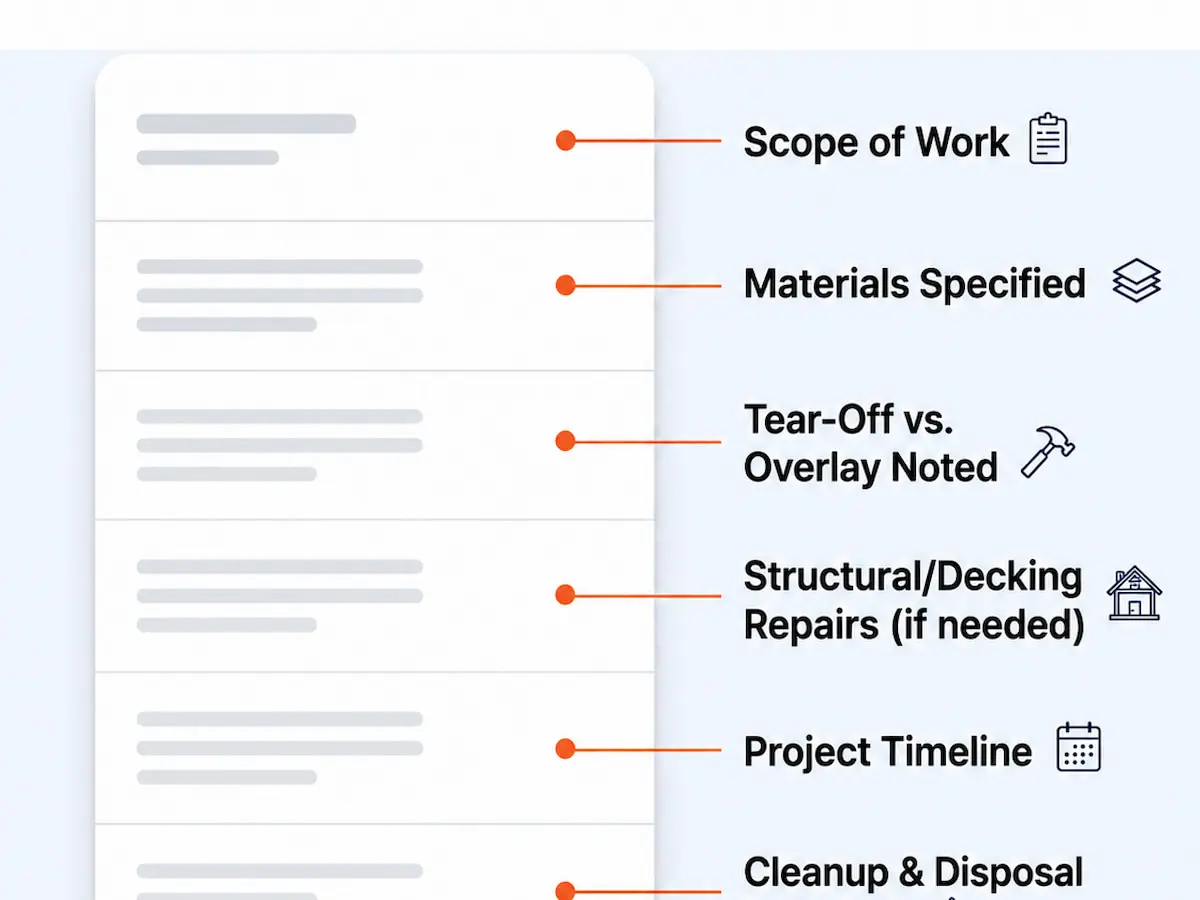
What a detailed estimate should cover
A strong estimate goes beyond just a price. It should also outline:
- what is being removed (tear-off vs overlay)
- what materials are being installed
- whether repairs to decking or structure are included
- cleanup and disposal
This level of detail helps you avoid surprises later.
Step 3: Receiving your estimate
After the inspection, you’ll receive your estimate—sometimes the same day, sometimes within a few days.
This is where most homeowners get their first clear understanding of:
- the condition of their roof
- the scope of work required
- the expected cost
If anything is unclear, this is the time to ask questions.
Do you have to commit after getting an estimate?
No. A roof estimate does not require a commitment.
Most homeowners:
You should never feel pressured to make an immediate decision.
Step 4: Reviewing your options
When comparing estimates, don’t just look at price.
You should also consider:
- differences in materials
- scope of work included
- timeline and availability
- contractor experience and reputation
Lower quotes may exclude important components, which can lead to higher costs later.
How long does the process take?
Typical timeline:
- Inspection: 1–3 days
- Scheduling: 1–3 weeks
- Repair: 1–2 days
- Replacement: 3–7 days
What can affect timing?
- weather delays
- permit approvals
- material availability
- project complexity
Understanding the timeline helps you plan accordingly, especially if you’re dealing with active damage.
Step 5: Scheduling the work
Once you approve an estimate, your project is scheduled.
At this stage:
- materials may be ordered
- a start date is confirmed
- you’ll receive preparation instructions if needed
For repairs, scheduling is often faster. Full replacements may require more coordination.
What happens after you approve the estimate?
Once approved:
- The project is scheduled
- Materials are prepared
- Work begins on the agreed timeline
A professional contractor will keep you informed throughout the process.
Step 6: Project execution
During the project, the contractor will:
- prepare the work area
- complete the repair or replacement
- ensure proper installation
- clean up debris and materials
A well-managed project should be efficient and minimize disruption to your home.
Step 7: Final walkthrough and completion
After the work is finished, you should receive:
- a final walkthrough
- confirmation that the work is complete
- any warranty or documentation
This ensures everything meets expectations before the project is officially closed.
How do you get the most accurate estimate?
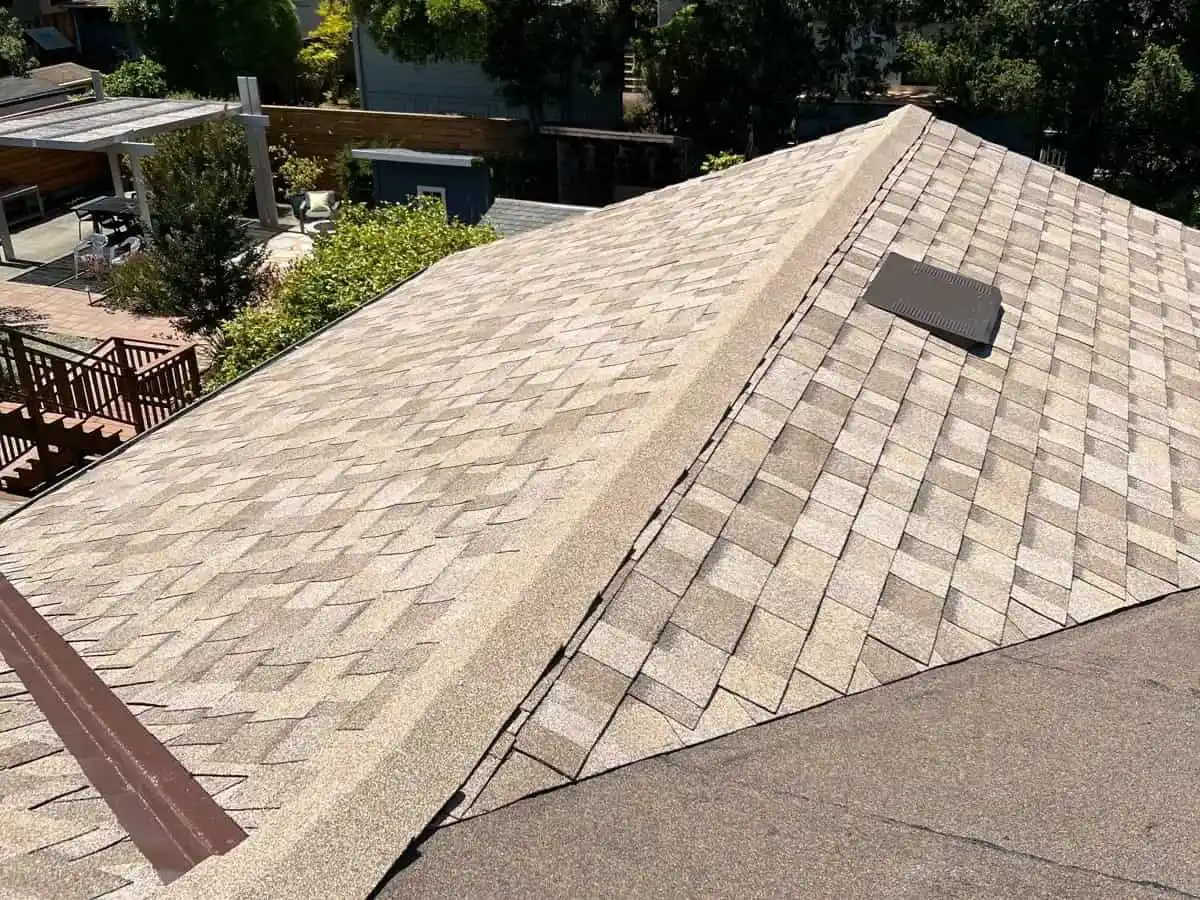
To get an accurate roof estimate:
- share any known issues (leaks, damage)
- ask questions about materials and scope
- review the estimate details carefully
- compare more than one quote if needed
The goal is not just to get a number—but to fully understand your options.
Ready to get a roof estimate?
The only way to get an exact price is with a professional inspection.
If you’re dealing with roof damage, leaks, or an aging roof, the next step is simple:
Request a roof inspection and estimate to find out exactly what your roof needs.